How to Draw Polylines in Pine Script v6
How to use the Pine Script v6 polyline type to create custom multi-point shapes, curves, and complex chart visuals in TradingView.

Marketing
Reviewed by Mike Christensen
Fact-checked by Mike Christensen

Bottom Line
- The polyline type is new in Pine Script v6 and draws connected multi-point shapes using arrays of chart.point objects
- Polylines support curved lines filled areas and closed shapes that were impossible with individual line objects
- Each polyline can contain up to 10000 points making them ideal for complex chart patterns and custom indicators
- Use polyline.new() with chart.point.new() or chart.point.from_index() to create points at specific bar and price coordinates
The polyline type in Pine Script v6 lets you draw connected multi-point shapes directly on TradingView charts. Unlike individual line objects that connect just two points, a single polyline can join up to 10,000 points with straight or curved segments, fill enclosed areas with color, and produce complex visuals that previously required dozens of separate drawing calls. If you have ever tried to draw a custom channel, a polygon, or a zig-zag pattern and run into object limits, polylines are the solution.
This guide covers everything you need to know about creating polylines in Pine Script v6: building chart points, calling polyline.new(), working with curved and filled shapes, and understanding the limits that apply to polyline drawings.
What Polylines Are
A polyline is a drawing type that sequentially connects all points in an array of chart.point objects with line segments1. Think of it as a "connect the dots" tool for your chart. You supply an ordered list of coordinates and Pine Script draws lines between them, from the first point to the second, the second to the third, and so on.
Before polylines existed, drawing a shape with 20 vertices required 20 separate line.new() calls, each consuming one of your limited line drawing slots. A single polyline replaces all of those with one object. This is significant because TradingView limits scripts to approximately 500 line objects by default. A single polyline object can handle up to 10,000 points1, and a script can maintain up to 100 polyline objects simultaneously when you set max_polylines_count in the indicator() declaration2.
Polylines also support two features that individual lines cannot replicate: curved segments that produce smooth arcs between points, and filled areas that shade the interior of closed shapes1.
Creating Chart Points
Every polyline requires an array of chart.point objects. Each chart point holds three pieces of coordinate data: a time value (UNIX timestamp), a bar index (integer), and a price (float)1. Pine Script provides three functions to create chart points, each suited to different use cases.
chart.point.from_index
The chart.point.from_index(index, price) function creates a point using a bar index as the x-coordinate and a price as the y-coordinate3. This is the most common method when your calculations reference bar positions on the chart.
// Create a point at the current bar's high price
chart.point p1 = chart.point.from_index(bar_index, high)

// Create a point 10 bars back at the low price
chart.point p2 = chart.point.from_index(bar_index - 10, low)
When you use chart.point.from_index(), the polyline uses the index field for its x-coordinate. The default xloc parameter in polyline.new() is xloc.bar_index, which matches this function.
chart.point.from_time
The chart.point.from_time(time, price) function creates a point using a UNIX timestamp as the x-coordinate3. This is useful when you need points that reference specific moments in time rather than bar positions, or when your points may span more than approximately 9,999 bars from the current bar.
// Create a point at the current bar's timestamp and close price
chart.point p1 = chart.point.from_time(time, close)

// Create a point at a specific timestamp
chart.point p2 = chart.point.from_time(1700000000000, 150.0)
When using time-based points, you must pass xloc = xloc.bar_time to the polyline.new() call so the drawing uses the time field from each point.
chart.point.new
The chart.point.new(time, index, price) function creates a point with all three coordinate fields populated3. This gives you maximum flexibility because the same point can work with either xloc.bar_index or xloc.bar_time settings.
// Create a point with both time and index information
chart.point p = chart.point.new(time, bar_index, close)
In practice, chart.point.from_index() and chart.point.from_time() are used more often because you typically know which xloc mode your polyline will use before creating the points.
The polyline.new Function
The polyline.new() function creates a new polyline instance and displays it on the chart3. Here is the full function signature:
polyline.new(points, curved, closed, xloc, line_color, fill_color, line_style, line_width, force_overlay) → series polyline
Each parameter controls a different aspect of the drawing:
pointsaccepts anarray<chart.point>containing the coordinates of each vertex in the polylinecurvedis a boolean that determines whether the segments between points are straight lines (false) or smooth curves (true)closedis a boolean that determines whether the drawing connects the last point back to the first pointxlocspecifies whether the polyline uses the index or time field from each chart point for x-coordinatesline_colorsets the color of the line segmentsfill_colorsets the color used to fill the interior of a closed polyline shapeline_styleaccepts line style constants likeline.style_solid,line.style_dashed, orline.style_dottedline_widthsets the thickness of the line in pixelsforce_overlaywhen true, displays the polyline on the main chart pane even if the script runs in a separate pane
Here is a basic example that draws a triangle connecting three price points on the chart:
//@version=6
indicator("Simple Triangle", overlay = true)

if barstate.islastconfirmedhistory
    var points = array.new<chart.point>()
    points.push(chart.point.from_index(bar_index - 20, high[20]))
    points.push(chart.point.from_index(bar_index - 10, low[10]))
    points.push(chart.point.from_index(bar_index, high))
    polyline.new(points, closed = true, line_color = color.blue, line_width = 2)
This script waits until the last confirmed historical bar, builds an array of three chart points, and creates a closed polyline that forms a triangle. The closed = true parameter automatically connects the third point back to the first.
Drawing Curved Lines
Setting curved = true in the polyline.new() call changes how the drawing connects its points. Instead of straight line segments, the polyline uses smooth curves that pass through each point, creating an interpolated arc between them3.
Curved polylines are particularly useful for approximating mathematical shapes like spirals, sine waves, and ellipses. Despite the smooth appearance, each polyline still uses a finite number of chart points. The curved parameter simply changes the rendering between those points from linear to curved interpolation.
//@version=6
indicator("Curved vs Straight", overlay = true)

if barstate.islastconfirmedhistory
    // Straight polyline
    var straightPts = array.new<chart.point>()
    straightPts.push(chart.point.from_index(bar_index - 30, close[30]))
    straightPts.push(chart.point.from_index(bar_index - 20, high[20]))
    straightPts.push(chart.point.from_index(bar_index - 10, low[10]))
    straightPts.push(chart.point.from_index(bar_index, close))
    polyline.new(straightPts, curved = false, line_color = color.red, line_width = 2)

    // Curved polyline with the same points
    var curvedPts = array.new<chart.point>()
    curvedPts.push(chart.point.from_index(bar_index - 30, close[30]))
    curvedPts.push(chart.point.from_index(bar_index - 20, high[20]))
    curvedPts.push(chart.point.from_index(bar_index - 10, low[10]))
    curvedPts.push(chart.point.from_index(bar_index, close))
    polyline.new(curvedPts, curved = true, line_color = color.green, line_width = 2)
In this example, the red polyline draws straight segments between the four points, while the green polyline draws smooth curves through the same coordinates. The visual difference is immediately apparent on the chart.
The curved parameter accepts a "series" argument, meaning you can use a boolean input to let users toggle between straight and curved modes from the script settings3. This is a common pattern for flexible indicator design.
Filling Polyline Shapes
When a polyline is closed (closed = true), you can fill the enclosed area with color using the fill_color parameter. This creates shaded regions on the chart, useful for highlighting price zones, drawing custom channels, or creating visual bands.
//@version=6
indicator("Filled Price Zone", overlay = true)

int LOOKBACK = 20

if barstate.islastconfirmedhistory
    var zonePts = array.new<chart.point>()

    // Add upper boundary points (left to right)
    for i = LOOKBACK to 0
        zonePts.push(chart.point.from_index(bar_index - i, high[i]))

    // Add lower boundary points (right to left)
    for i = 0 to LOOKBACK
        zonePts.push(chart.point.from_index(bar_index - i, low[i]))

    polyline.new(
         zonePts, closed = true,
         line_color = color.new(color.blue, 60),
         fill_color = color.new(color.blue, 85),
         line_width = 1
     )
This script draws a filled zone between the high and low prices over the last 20 bars. The upper boundary runs left to right along the highs, and the lower boundary returns right to left along the lows, forming a closed shape. The color.new() function adds transparency so the fill does not obscure the price action beneath it.
The fill only renders when closed = true. An open polyline (the default) draws line segments without any interior shading, regardless of the fill_color value3.
Practical Example: Zig-Zag Indicator
One of the most common use cases for polylines is building a zig-zag indicator that connects pivot highs and lows across the chart. Without polylines, this would require hundreds of individual line objects. With polylines, a single object handles the entire drawing.
//@version=6
indicator("Polyline Zig Zag", overlay = true)

int LEFT_BARS  = 5
int RIGHT_BARS = 5

// Detect pivot highs and lows
float pivotHigh = ta.pivothigh(LEFT_BARS, RIGHT_BARS)
float pivotLow  = ta.pivotlow(LEFT_BARS, RIGHT_BARS)

// Store pivot points in a persistent array
var pointsArray = array.new<chart.point>()

if not na(pivotHigh)
    pointsArray.push(chart.point.from_index(bar_index - RIGHT_BARS, pivotHigh))
if not na(pivotLow)
    pointsArray.push(chart.point.from_index(bar_index - RIGHT_BARS, pivotLow))

if barstate.islastconfirmedhistory
    // Remove points too far from the current bar to prevent errors
    for i = (pointsArray.size() - 1) to 0
        chart.point point = pointsArray.get(i)
        if (bar_index - point.index) > 9999
            pointsArray.remove(i)

    polyline.new(pointsArray, line_color = color.orange, line_width = 2)
The script detects pivot highs and lows using the ta.pivothigh() and ta.pivotlow() functions, pushes each pivot into a persistent array of chart points, and draws the polyline on the last confirmed historical bar. The backward loop that removes distant points prevents runtime errors from points more than approximately 9,999 bars away from the current bar.
Practical Example: Custom N-Sided Polygon
Polylines make it straightforward to draw regular polygons with any number of sides. The following example calculates vertex positions using trigonometry and connects them with a closed, filled polyline.
//@version=6
indicator("N-Sided Polygon", overlay = true)

int SIDES = input.int(6, "Number of sides", minval = 3, maxval = 20)
float RADIUS = input.float(10.0, "Radius (bars)")

if barstate.islastconfirmedhistory
    var points = array.new<chart.point>()
    float yScale = ta.atr(14)
    float step = 2 * math.pi / SIDES

    for i = 0 to SIDES - 1
        float angle = i * step
        int xVal = int(math.round(RADIUS * math.cos(angle))) + bar_index
        float yVal = RADIUS * yScale * math.sin(angle) + close
        points.push(chart.point.from_index(xVal, yVal))

    polyline.new(
         points, closed = true,
         line_color = color.navy,
         fill_color = color.new(color.orange, 50),
         line_width = 3
     )
The script calculates the x and y positions for each vertex using cosine and sine functions, scaled by the ATR for appropriate vertical sizing. The closed = true parameter connects the last vertex back to the first, and the fill color shades the interior of the polygon.
Limits and Performance
TradingView enforces several limits on polyline usage to maintain chart performance:
- Each polyline can contain a maximum of 10,000
chart.pointobjects in itspointsarray3 - A script can display up to approximately 100 polyline objects at a time, controlled by the
max_polylines_countparameter in theindicator()orstrategy()declaration2 - When
xloc.bar_indexis used, all points must reference bars within approximately 9,999 bars of the current bar2 - To reference older bars, use
chart.point.from_time()withxloc = xloc.bar_timeto set x-coordinates with UNIX timestamps instead3
Unlike lines and boxes, polylines do not have setter or getter functions for modifying individual properties after creation2. If you need to update a polyline, delete the existing instance with polyline.delete() and create a new one with the desired changes3.
// Delete and recreate pattern for updating polylines
var polyline myPoly = na
if not na(myPoly)
    polyline.delete(myPoly)
myPoly := polyline.new(updatedPoints, line_color = color.blue)
When working with large numbers of polylines, keep in mind that each polyline counts against the total drawing limit even if it contains only a few points. Design your scripts to reuse and delete polylines rather than creating new ones on every bar.
Polylines vs Individual Lines
The table below summarizes the key differences between polyline objects and individual line objects in Pine Script v6:
line.new()connects exactly two points;polyline.new()connects up to 10,000 points3- Lines support setter functions like
line.set_xy1()andline.set_color(); polylines must be deleted and recreated to modify2 - Scripts can display approximately 500 lines by default; polylines are limited to approximately 100 objects2
- Lines cannot fill enclosed areas; polylines support
fill_coloron closed shapes3 - Lines always draw straight segments; polylines support curved interpolation between points3
For simple two-point drawings like trend lines or horizontal levels, line.new() remains the better choice. For multi-point shapes, patterns, or any drawing that would require more than a handful of lines, polylines are more efficient and stay well within TradingView's object limits.
Automating Polyline Strategies
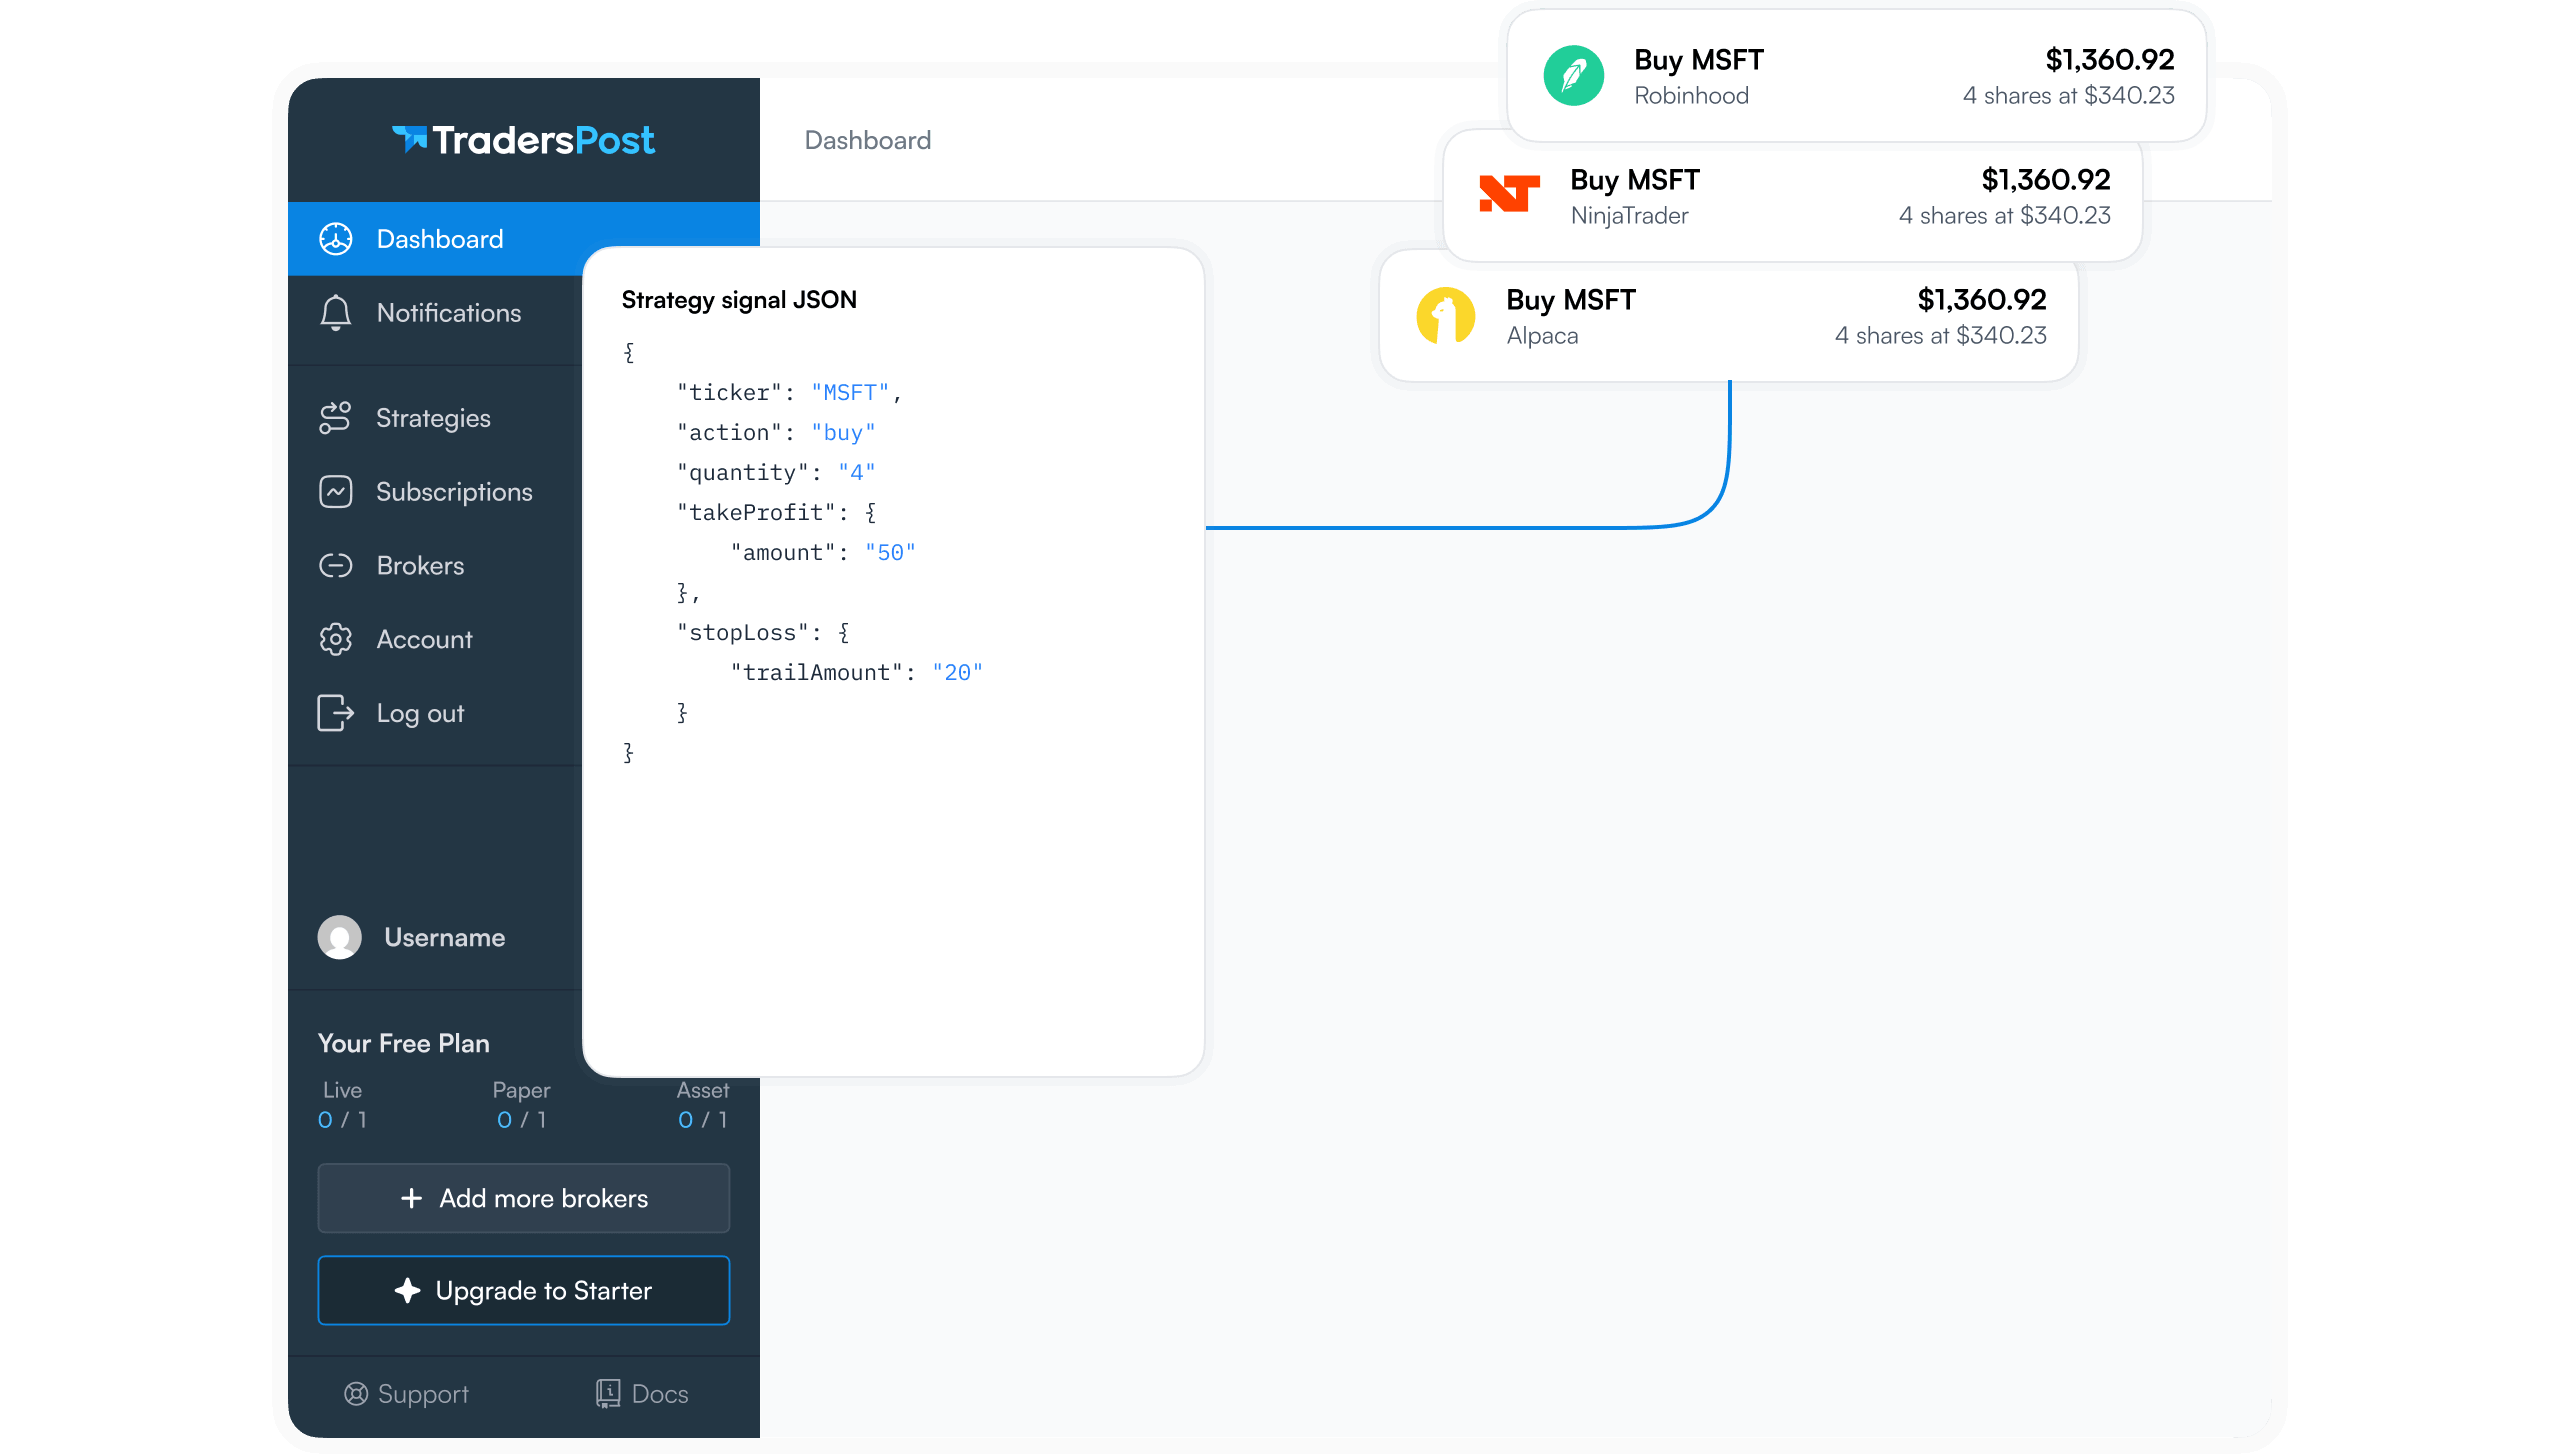
Polylines are a visual tool, but the patterns they reveal often drive trading decisions. If you build indicators that use polylines to identify chart patterns like wedges, channels, or zig-zag reversals, you can automate the trading signals those patterns generate.
TradersPost connects your TradingView alerts to live broker accounts, executing trades automatically when your Pine Script indicators fire4. Instead of watching your polyline-based pattern indicator manually, you can set up TradingView alerts on the signal conditions your script detects and let TradersPost handle order execution across stocks, options, futures, and crypto.
This approach separates the visual analysis (what you see on the chart) from the execution logic (what your broker does), giving you the speed and consistency of automation while keeping your custom polyline visuals as a monitoring tool.
Conclusion
The polyline type in Pine Script v6 opens up chart drawing capabilities that were previously impossible or impractical. By connecting arrays of chart points with a single function call, you can build complex shapes, filled zones, curved arcs, and multi-vertex patterns without exhausting TradingView's drawing object limits. Whether you are building a zig-zag indicator, a custom channel overlay, or a geometric visualization, polyline.new() combined with chart.point objects gives you the tools to create it cleanly and efficiently.
References
1 Pine Script User Manual — Lines and boxes
2 Pine Script User Manual — Polylines
3 Pine Script v6 Language Reference
4 TradersPost — Automated Trading Platform