Gray Out Irrelevant Pine Script Settings with active
How to use the Pine Script active input parameter to create conditional settings that enable and disable based on other input values.

Marketing
Reviewed by Mike Christensen
Fact-checked by Mike Christensen

Bottom Line
- The July 2025 update added an active parameter to all input functions controlling whether users can change the input value
- When active is false the input appears grayed out in the Settings/Inputs tab and users cannot modify it
- Use active to create conditional input dependencies where enabling one setting reveals related sub-settings
- The active parameter accepts any boolean expression including references to other input values
One of the most common frustrations when building Pine Script indicators with many settings is that all inputs are always editable, even when they do not apply to the current configuration. If your indicator has an optional smoothing feature, the smoothing length input is always visible and editable, even when smoothing is turned off. The July 2025 Pine Script update solves this problem with the active parameter.1
This guide covers how the active parameter works, how to build conditional input groups, practical code examples for indicators and strategies, and UI design patterns that make your scripts more professional and easier to use.
What the Active Parameter Does
The July 2025 update added a new parameter called active to every input function in Pine Script.1 This includes input(), input.int(), input.float(), input.bool(), input.color(), input.string(), input.text_area(), input.timeframe(), input.symbol(), input.source(), input.session(), input.time(), input.price(), and input.enum().2 Every input type supports it.
The active parameter controls whether users can change the value of an input in the Settings/Inputs tab.2 It accepts a boolean value.
- When active is true (the default), the input works normally and users can change its value2
- When active is false, the input field appears grayed out (dimmed) in the Settings/Inputs tab and users cannot modify it1
The input still exists and its default value is still used in calculations. The active parameter only controls whether the user can interact with the input widget in the UI.3 It does not hide the input entirely or remove it from the settings panel.
How It Works
The active parameter accepts an argument with the "input bool" type qualifier.2 This means you can pass a literal true or false, a variable that holds a boolean value, or an expression that evaluates to a boolean, including references to other input values.
Here is the simplest possible example showing an input that is always disabled.
//@version=6
indicator("Always Disabled Input", overlay = true)
int fixedLength = input.int(20, "Fixed Length", active = false)
plot(ta.sma(close, fixedLength))
The fixedLength input appears in the Settings/Inputs tab but it is grayed out. Users see the default value of 20 but cannot change it. This is useful for displaying read-only configuration values that you want users to see but not modify.
The real power comes from making the active state depend on another input. When you pass a reference to a boolean input as the active argument, you create a dependency between the two inputs.
//@version=6
indicator("Conditional Input", overlay = true)
bool showMA = input.bool(false, "Show Moving Average")
int maLength = input.int(20, "MA Length", minval = 1, active = showMA)
plot(showMA ? ta.sma(close, maLength) : na, "MA", color.blue)
When the user unchecks the Show Moving Average checkbox, the MA Length input becomes grayed out because showMA is false. When they check the box, the input becomes active and editable. This creates a clear visual relationship between the toggle and its dependent setting.
Creating Conditional Input Groups
The most common use case for the active parameter is creating groups of related inputs that are all controlled by a single toggle. This pattern appears constantly in professional indicators where optional features each have their own configuration.
//@version=6
indicator("Conditional Groups Demo", overlay = true)

// === Main Settings ===
int lengthInput = input.int(14, "RSI Length", minval = 1, group = "Main")
float srcInput = input.source(close, "Source", group = "Main")

// === Smoothing Group ===
string GRP_SMOOTH = "Smoothing"
bool enableSmoothing = input.bool(false, "Enable Smoothing", group = GRP_SMOOTH)
int smoothLength = input.int(9, "Smooth Length", minval = 1,
     group = GRP_SMOOTH, active = enableSmoothing)
color smoothColor = input.color(color.orange, "Smooth Color",
     group = GRP_SMOOTH, active = enableSmoothing)

// === Divergence Group ===
string GRP_DIV = "Divergence Detection"
bool enableDivergence = input.bool(false, "Enable Divergence", group = GRP_DIV)
int divLookback = input.int(5, "Lookback Bars", minval = 1,
     group = GRP_DIV, active = enableDivergence)
color bullDivColor = input.color(color.green, "Bullish Color",
     group = GRP_DIV, active = enableDivergence)
color bearDivColor = input.color(color.red, "Bearish Color",
     group = GRP_DIV, active = enableDivergence)

//@variable The RSI calculation.
float rsi = ta.rsi(srcInput, lengthInput)

//@variable The smoothed RSI or raw RSI depending on the toggle.
float displayRSI = enableSmoothing ? ta.ema(rsi, smoothLength) : rsi

// Plot the RSI.
plot(displayRSI, "RSI", enableSmoothing ? smoothColor : color.purple, 2)
hline(70, "Overbought", color.gray)
hline(30, "Oversold", color.gray)
This script organizes inputs into three groups. The Main group is always active. The Smoothing group has a toggle that controls whether the smooth length and color inputs are editable. The Divergence Detection group has its own independent toggle controlling its sub-settings. Each group operates independently, so enabling smoothing does not affect the divergence inputs and vice versa.
RSI with Optional Smoothing
The Pine Script release notes included a specific example of the active parameter that demonstrates a common real-world pattern.1 Here is the full implementation of an RSI indicator with optional EMA smoothing and a configurable mix parameter.
//@version=6
indicator("Active Input Demo")

//@variable The length for the RSI calculation.
int rsiLengthInput = input.int(14, "RSI length")

string GRP1 = "Smoothing"
//@variable If true, the script applies smoothing based on the two inputs below.
//          If false, it does not apply smoothing, and those inputs are grayed out.
bool enableSmoothingInput = input.bool(false, "Enable", group = GRP1)

//@variable The length of the EMA for smoothing the RSI.
int smoothLengthInput = input.int(9, "Length", 1, inline = "01",
     group = GRP1, active = enableSmoothingInput)
//@variable The strength of the smoothing. If 1, the result is the EMA of the RSI.
//          If less than 1, the result is a mix between the EMA and the original RSI.
float mixInput = input.float(1.0, "Mix", 0, 1, 0.01, inline = "01",
     group = GRP1, active = enableSmoothingInput)

//@variable The RSI of close.
float rsi = ta.rsi(close, rsiLengthInput)
//@variable The smoothed RSI.
float smoothed = ta.ema(rsi, enableSmoothingInput ? smoothLengthInput : 1)
//@variable The mixture between rsi and smoothed, based on the inputs.
float osc = enableSmoothingInput ? (1.0 - mixInput) * rsi + mixInput * smoothed : rsi

// Make horizontal lines, and fill the space between obLine and osLine.
obLine = hline(70)
hline(50)
osLine = hline(30)
fill(obLine, osLine, color.new(color.purple, 90))
// Plot the osc series.
plot(osc, "Custom RSI")
Notice how the smoothLengthInput and mixInput both use active = enableSmoothingInput. They also share the same inline argument "01" which places them on the same line in the Settings panel.3 When the user checks the Enable checkbox, both inputs on that line become editable simultaneously. When unchecked, both are grayed out together.
The mix parameter adds a sophisticated blending control. At 1.0 the output is purely the EMA-smoothed RSI. At 0.5 it is a 50/50 blend of the raw RSI and the smoothed version. At 0.0 the smoothing has no effect even when enabled. This kind of fine-grained control is exactly the type of input that should be grayed out when the entire smoothing feature is disabled.
Strategy with Multiple Modes
For strategies with multiple operating modes, the active parameter lets you show only the relevant settings for the currently selected mode. This dramatically reduces confusion when a strategy has many parameters that apply to different configurations.
//@version=6
strategy("Multi-Mode Strategy", overlay = true)

//@variable Selects the entry mode for the strategy.
string modeInput = input.string("SMA Crossover", "Entry Mode",
     options = ["SMA Crossover", "RSI Reversal", "Breakout"],
     group = "Mode")

// === SMA Crossover Settings ===
string GRP_SMA = "SMA Crossover Settings"
bool smaActive = modeInput == "SMA Crossover"
int fastLen = input.int(10, "Fast Length", minval = 1,
     group = GRP_SMA, active = smaActive)
int slowLen = input.int(30, "Slow Length", minval = 1,
     group = GRP_SMA, active = smaActive)

// === RSI Reversal Settings ===
string GRP_RSI = "RSI Reversal Settings"
bool rsiActive = modeInput == "RSI Reversal"
int rsiLen = input.int(14, "RSI Length", minval = 1,
     group = GRP_RSI, active = rsiActive)
int oversoldLevel = input.int(30, "Oversold Level", minval = 1, maxval = 50,
     group = GRP_RSI, active = rsiActive)
int overboughtLevel = input.int(70, "Overbought Level", minval = 50, maxval = 99,
     group = GRP_RSI, active = rsiActive)

// === Breakout Settings ===
string GRP_BRK = "Breakout Settings"
bool brkActive = modeInput == "Breakout"
int breakoutLen = input.int(20, "Lookback Period", minval = 1,
     group = GRP_BRK, active = brkActive)
float breakoutMult = input.float(1.0, "ATR Multiplier", minval = 0.1, step = 0.1,
     group = GRP_BRK, active = brkActive)

// === Entry Logic ===
if modeInput == "SMA Crossover"
    float fastMA = ta.sma(close, fastLen)
    float slowMA = ta.sma(close, slowLen)
    if ta.crossover(fastMA, slowMA)
        strategy.entry("Long", strategy.long)
    if ta.crossunder(fastMA, slowMA)
        strategy.close("Long")

else if modeInput == "RSI Reversal"
    float rsiVal = ta.rsi(close, rsiLen)
    if ta.crossover(rsiVal, oversoldLevel)
        strategy.entry("Long", strategy.long)
    if ta.crossunder(rsiVal, overboughtLevel)
        strategy.close("Long")

else if modeInput == "Breakout"
    float upperBand = ta.highest(high, breakoutLen)
    float atrVal = ta.atr(breakoutLen) * breakoutMult
    if close > upperBand[1] + atrVal
        strategy.entry("Long", strategy.long)
    if close < ta.lowest(low, breakoutLen)[1]
        strategy.close("Long")
When the user selects "SMA Crossover" from the dropdown, only the SMA Crossover Settings group is active. The RSI Reversal Settings and Breakout Settings groups are all grayed out. Switching to "RSI Reversal" activates the RSI group and grays out the other two. Each mode has complete visual isolation of its settings.
The key technique here is defining boolean variables like smaActive, rsiActive, and brkActive that compare the mode input string to each possible value. These booleans are then passed as the active argument to every input in the corresponding group.
UI Design Patterns
The active parameter opens up several design patterns that make Pine Script indicators and strategies more polished and user-friendly.
Toggle and Configure
Place a boolean toggle at the top of a group, then use it as the active argument for all other inputs in the group. This is the most common pattern and the one shown in the official documentation.1
Mode Selection
Use a string or enum input as a mode selector, then create separate groups for each mode. Compare the mode value to activate only the relevant group, as shown in the multi-mode strategy example above.
Cascading Dependencies
You can chain active parameters to create multi-level dependencies. A top-level toggle enables a sub-feature, and that sub-feature has its own toggle that enables further settings.
//@version=6
indicator("Cascading Active Demo", overlay = true)

bool showBands = input.bool(true, "Show Bollinger Bands")
float bbMult = input.float(2.0, "BB Multiplier", minval = 0.5, step = 0.5,
     active = showBands)
bool showFill = input.bool(true, "Fill Between Bands",
     active = showBands)
color fillColor = input.color(color.new(color.blue, 85), "Fill Color",
     active = showBands and showFill)

float basis = ta.sma(close, 20)
float dev = ta.stdev(close, 20) * bbMult
float upper = basis + dev
float lower = basis - dev

p1 = plot(showBands ? upper : na, "Upper BB", color.gray)
p2 = plot(showBands ? lower : na, "Lower BB", color.gray)
fill(p1, p2, showBands and showFill ? fillColor : na)
In this example, the Fill Color input has a compound active condition: showBands and showFill. The fill color is only editable when both the band display and the fill feature are enabled. If the user unchecks Show Bollinger Bands, everything below it grays out. If bands are enabled but Fill Between Bands is unchecked, only the fill color grays out while the BB Multiplier stays active.
Input Alignment
When using inline to place multiple inputs on the same line, the active state applies to each input independently. You can have one input on a line that is active and another on the same line that is grayed out, depending on their individual active arguments.
syminfo.current_contract
The July 2025 update also introduced a new variable in the syminfo namespace.1 The syminfo.current_contract variable returns the ticker identifier of the underlying contract when the current symbol is a continuous futures contract.2 If the current symbol is not a continuous futures contract, the variable returns na.
//@version=6
indicator("Current Contract Info", overlay = true)
if barstate.islast and not na(syminfo.current_contract)
    label.new(bar_index, high,
         "Continuous: " + syminfo.tickerid + "\nContract: " + syminfo.current_contract,
         style = label.style_label_down, color = color.blue, textcolor = color.white)
This is useful for futures traders who work with continuous contract charts but need to know which specific contract is currently active. For example, on a continuous ES chart, syminfo.current_contract might return "CME_MINI:ESH2026" to indicate the specific March 2026 E-mini S&P 500 contract that is currently the front month.
Conclusion
The active input parameter introduced in July 2025 is a straightforward addition that has an outsized impact on the quality of Pine Script indicators and strategies.1 By letting you gray out inputs that do not apply to the current configuration, you eliminate confusion, prevent meaningless parameter changes, and create a settings panel that guides users toward the inputs that actually matter.
The key patterns to remember are the toggle-and-configure pattern for optional features, the mode-selection pattern for mutually exclusive configurations, and the cascading dependency pattern for multi-level settings. All three rely on passing boolean expressions to the active parameter, and the expressions can reference any other input value with the "input bool" qualifier.
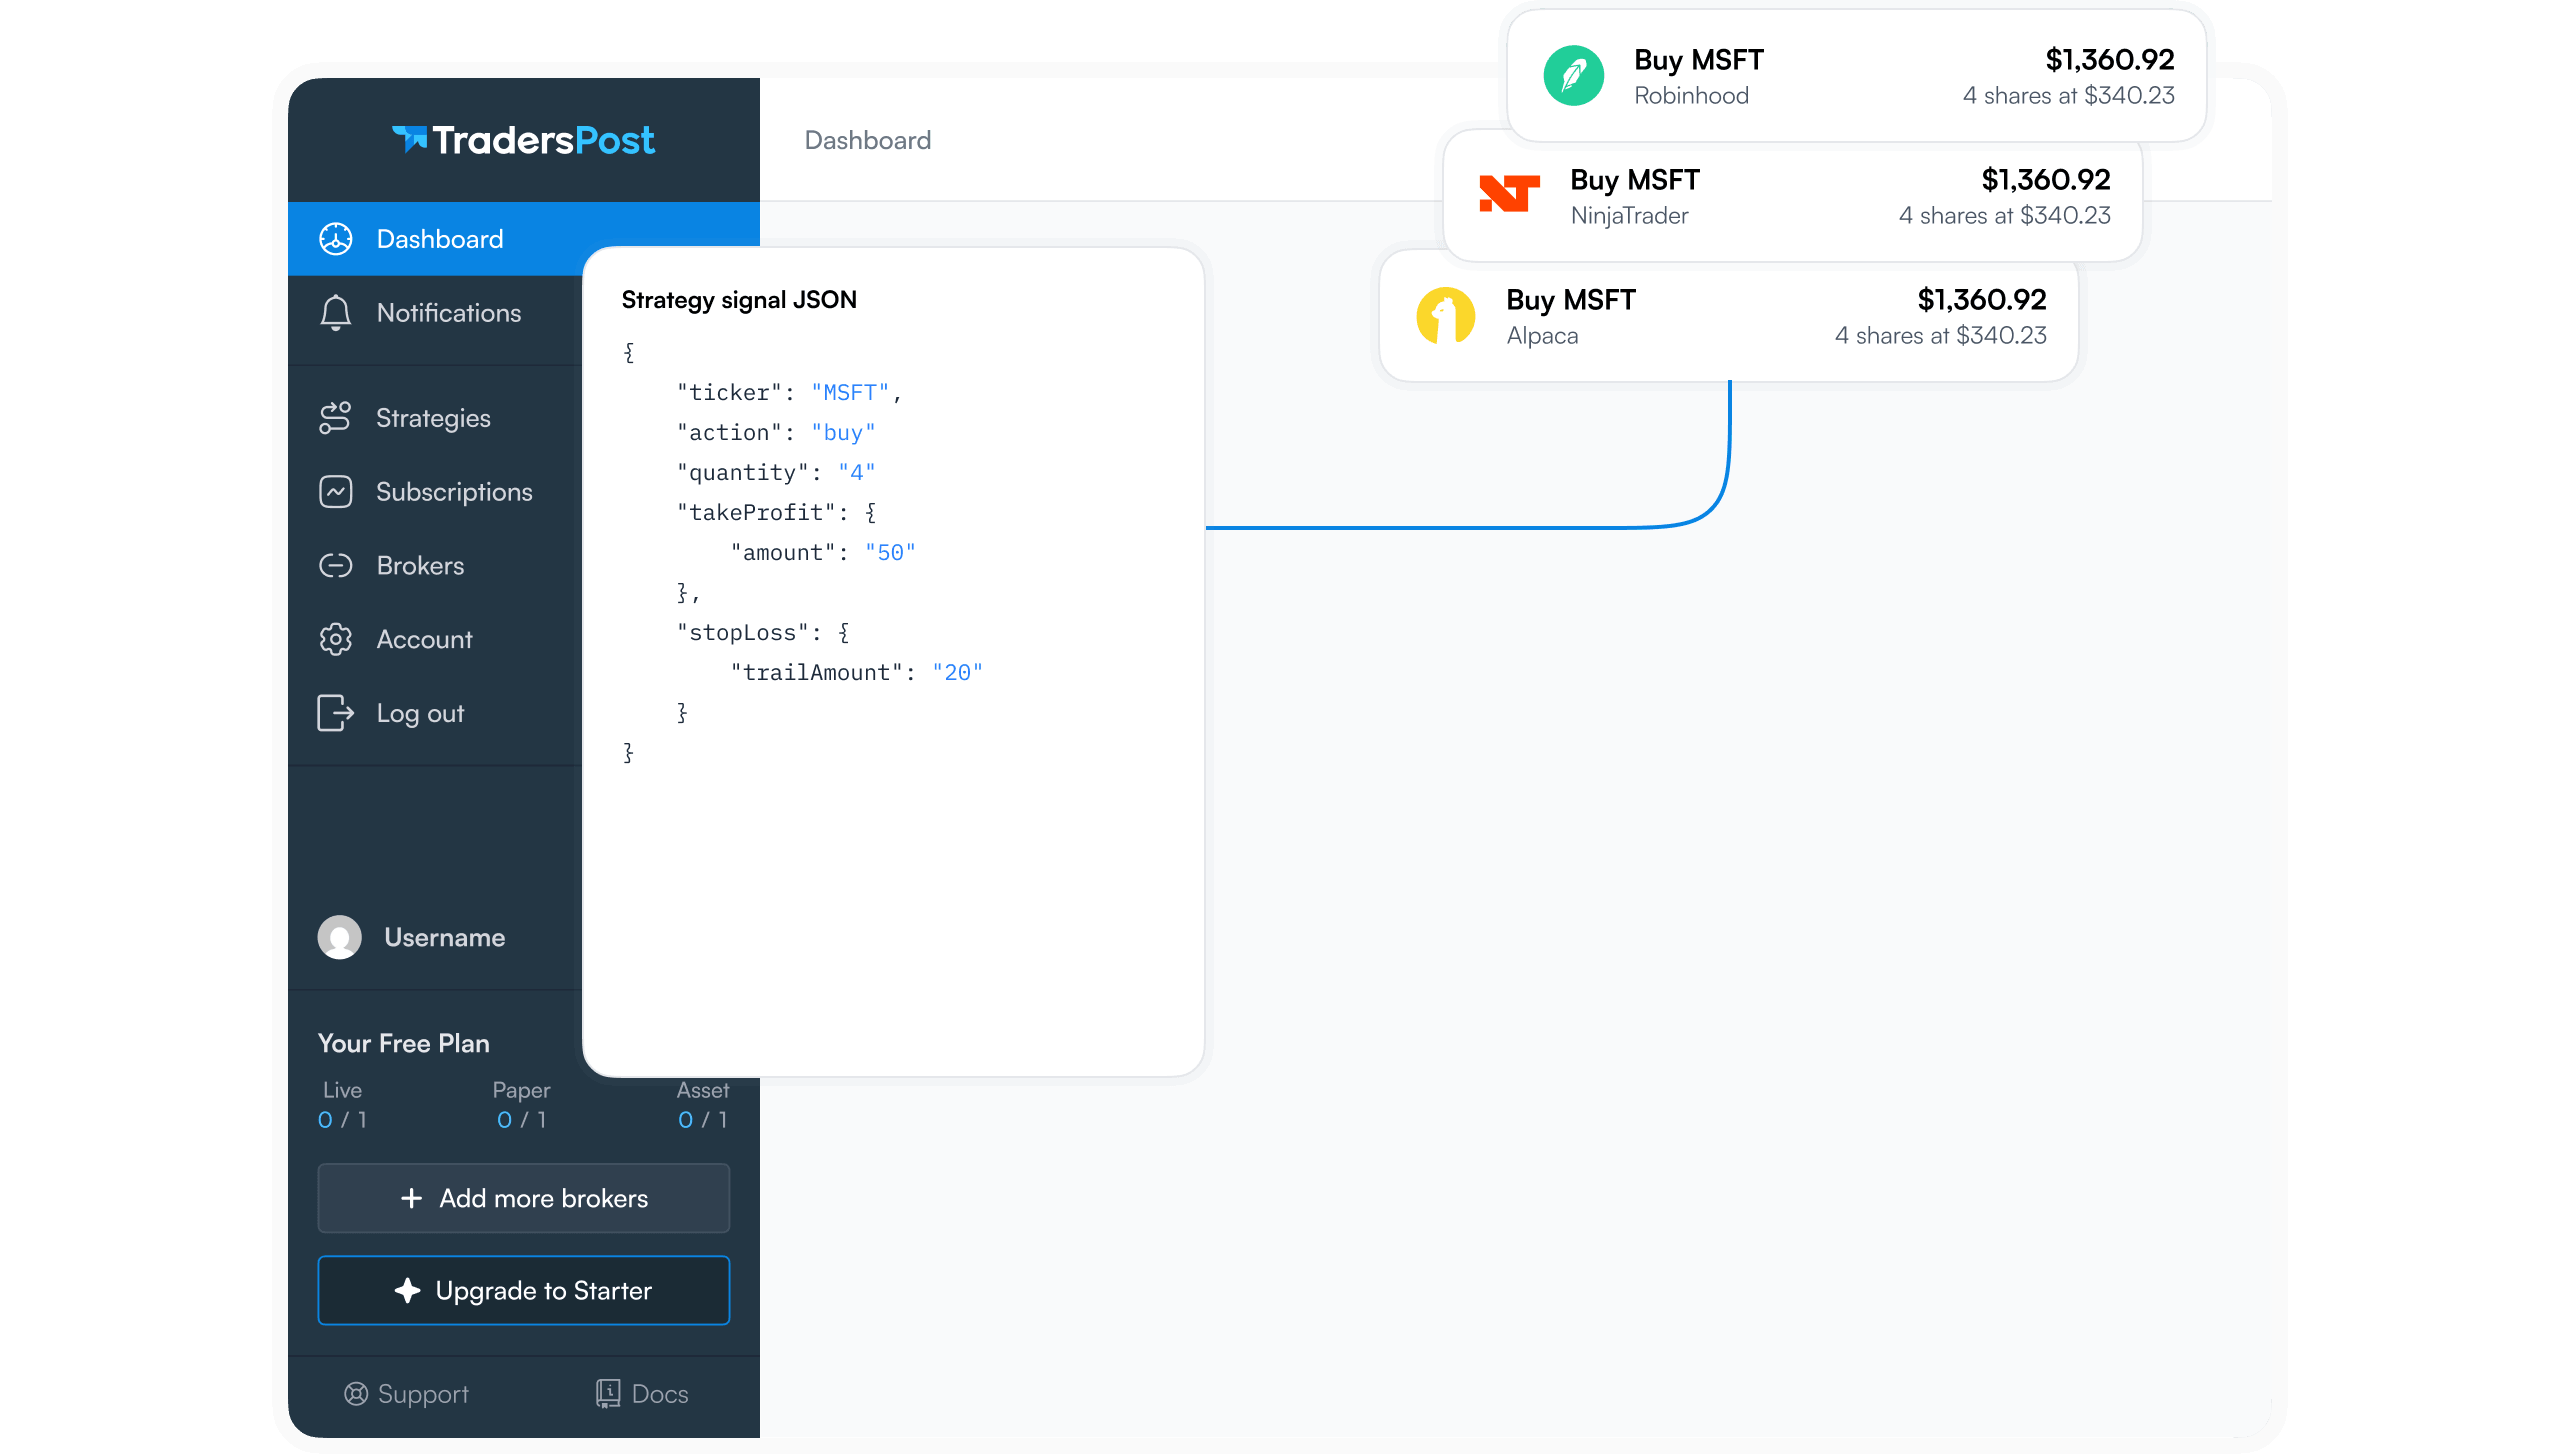
When you build professional indicators with well-organized inputs and conditional settings, those indicators produce cleaner signals. Connect those signals to TradersPost through TradingView alerts and you can automate your trading strategies with confidence that the inputs driving each signal are configured correctly and intentionally by the user.4
References
1 TradingView Pine Script Release Notes
2 TradingView Pine Script v6 Language Reference
3 TradingView Pine Script User Manual
4 TradersPost - Automated Trading Platform