Event-Driven TradingView Alerts for Automation
Learn to build event-driven TradingView alerts, send webhooks to TradersPost, and paper trade automated buy, sell, exit, and reverse orders safely today.

Marketing

Bottom Line
- Event-driven TradingView alerts transform specific strategy events into actionable instructions for automation platforms, helping to prevent common automated trading failures.
- Key event-driven conditions include moving-average crossovers, price breakouts, volume confirmations, and support or resistance breaks.
- TradingView alerts can be configured to send webhook messages to platforms like TradersPost, specifying order intent, ticker information, and position sizing.
- Alerts can be set to trigger once per bar, once per bar close, or more frequently, depending on the strategy's requirements and to avoid duplicate signals.
- Separate alerts should be used for entries, exits, and reversals to ensure clarity and prevent unintended trades, with each alert mapped to a specific trading action.
Most automated trading failures begin before the order is ever sent: alerts trigger too late, signals repeat unexpectedly, or a strategy cannot distinguish between entering, exiting, and reversing a position. Event driven TradingView alerts solve that problem by turning meaningful strategy events into specific instructions that an automation platform can act on immediately.
In this guide, you will learn how to configure TradingView alerts around the events that matter, including buy entries, sell entries, profit-taking exits, stop exits, and position reversals. You will also see how to format webhook messages for TradersPost so each alert carries clear order intent, ticker information, and position sizing details.
The goal is not simply to connect an alert to a broker. It is to build a controlled workflow that responds to confirmed trading conditions, avoids duplicate or conflicting orders, and can be tested safely before real capital is at risk. By paper trading your automated alerts first, you can validate the full chain from TradingView signal to TradersPost order execution with confidence.
What Are Event-Driven TradingView Alerts?
Define Event-Driven Trading in a TradingView Workflow
Event-driven trading begins with a specific, pre-defined market condition rather than a discretionary decision made after watching a chart. In a TradingView workflow, the event is the condition that causes an alert to fire. TradingView continuously evaluates the chart, indicator, drawing, strategy, or alert condition you configure. When the condition is met, TradingView sends an alert.
Common event-driven conditions include:
- Moving-average crossover: Enter when a 20-period moving average crosses above a 50-period moving average, or exit when the faster average crosses back below.
- Price breakout: Trigger a long instruction when price closes above the highest high of the previous 20 bars.
- Volume confirmation: Act only when volume exceeds a defined multiple of its recent average while price breaks a range.
- Support or resistance break: Trigger when price crosses a manually drawn horizontal level, trend line, or a level calculated by an indicator.
- Session-based condition: Evaluate a setup only during a defined market session, such as requiring a breakout after the opening range has formed.
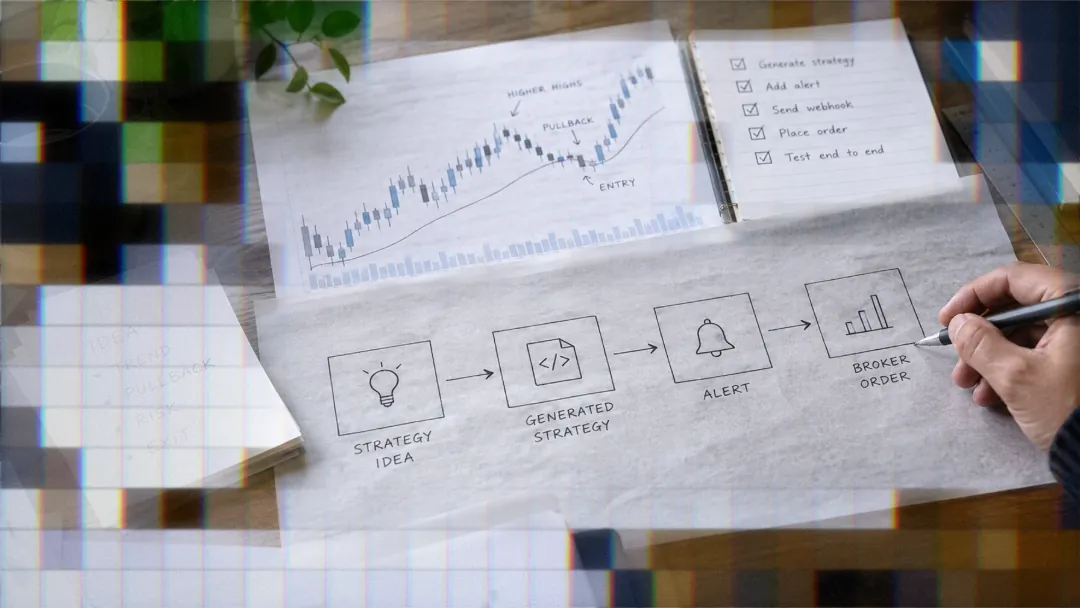
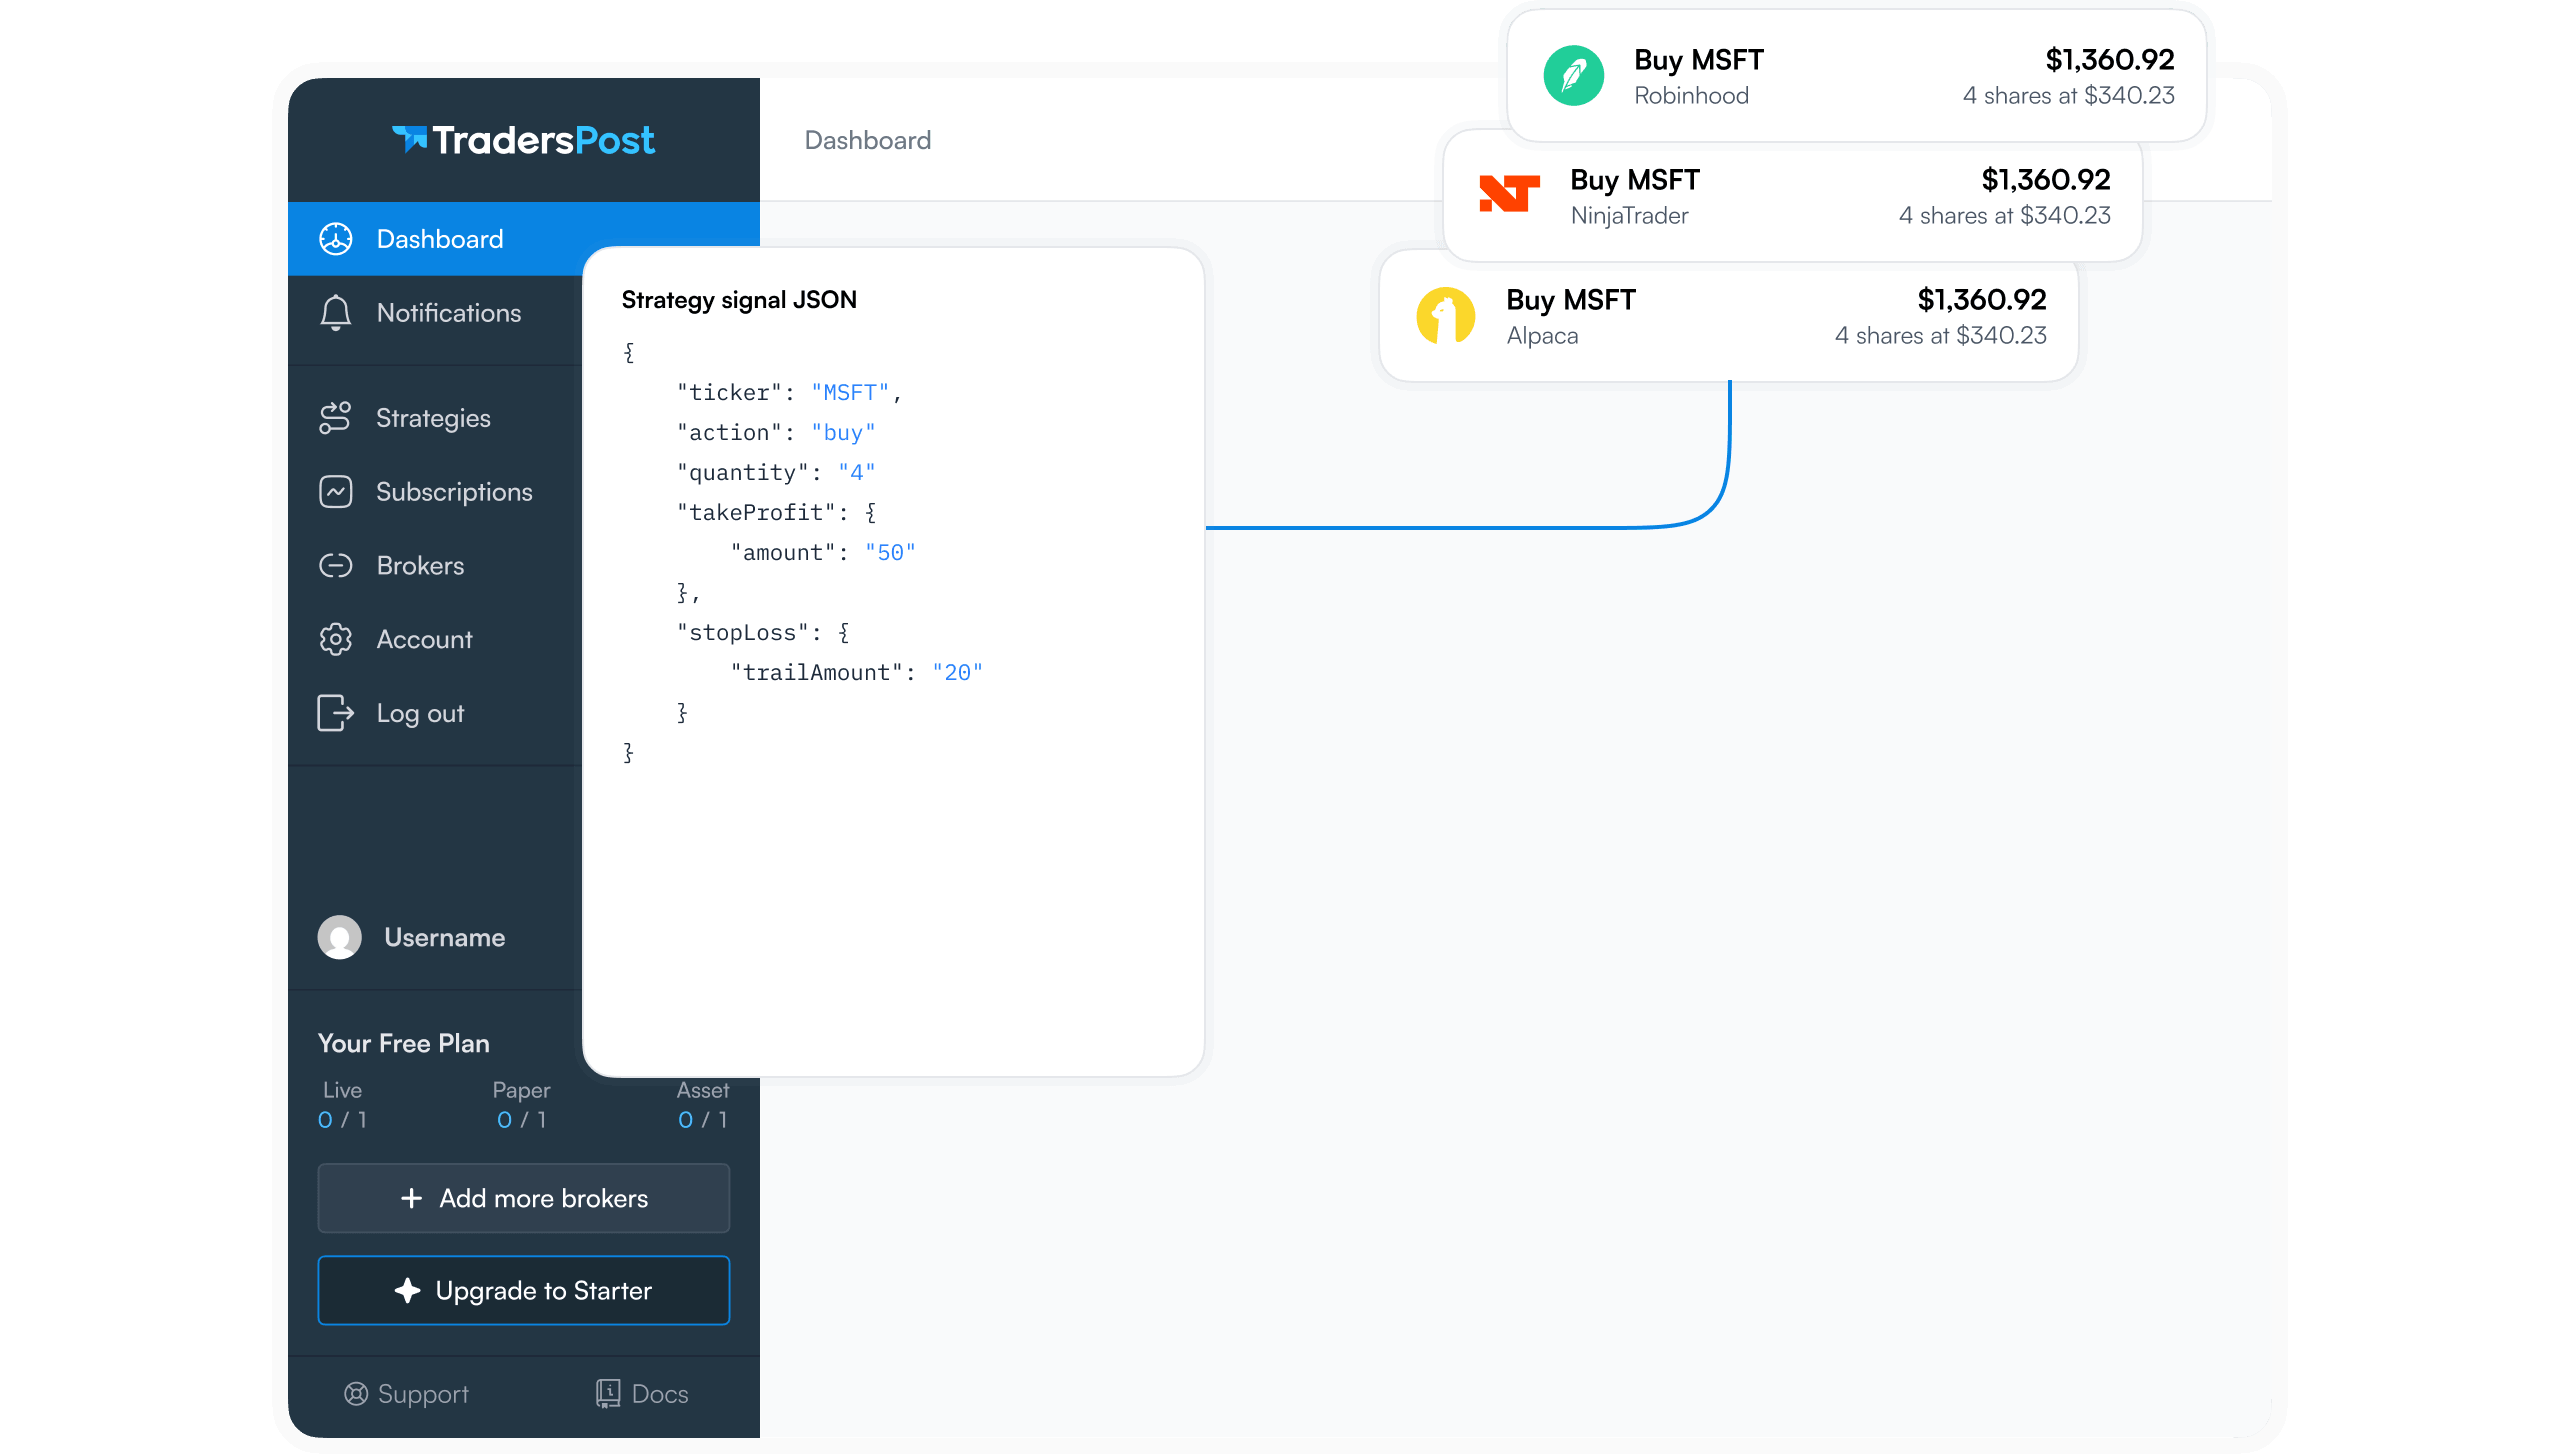
The automation chain is straightforward: TradingView detects the event, TradingView sends a webhook message, and TradersPost routes the instruction for execution. The webhook message can identify the instrument and intended action, such as a ticker, action, and quantity. It can also include protective instructions such as takeProfit, stopLoss, or expiration when those are part of the strategy design.1
For example, a trader could configure a TradingView alert to fire only when a 15-minute bar closes above premarket resistance and relative volume is elevated. That alert can send a webhook instruction to TradersPost, removing the need for the trader to manually enter the same instruction after the breakout occurs.
Understand What TradingView Alerts Can and Cannot Detect
TradingView alerts are driven by information available in the charting environment. They can be based on chart price data, indicators, drawings, strategies, and alert conditions. This makes them well suited to technical and session-aware workflows in which the triggering logic can be expressed through price, volume, time, or indicator behavior.
TradingView alerts are not a built-in economic-calendar automation tool that directly triggers a trade from a scheduled news release. An alert cannot inherently interpret an upcoming employment report, central-bank decision, earnings release, or economic-calendar result and automatically trade because that event occurred.
Traders can, however, approximate event timing with chart-based rules. For example, a strategy may use a session or time-based condition to begin evaluating signals shortly before a scheduled release, then require price and volume confirmation before sending an alert. A practical rule might require a five-minute candle to close above the pre-release range high with volume above its 20-bar average. The scheduled time determines when the setup becomes eligible, while the chart condition determines whether an actionable market move actually occurred.
This distinction matters for automation design: use TradingView alerts to react to observable chart events, and define the confirmation criteria precisely enough that the webhook is sent only when the intended trading condition is present.
Choose the Market Events Your Alerts Should Trade
Start With Objective, Repeatable Chart Conditions
An automated alert should describe a market event that can be measured identically on every chart, symbol, and historical test. Avoid discretionary language such as “strong breakout,” “healthy pullback,” or “trend looks bullish.” Replace those descriptions with explicit conditions based on price, volume, or indicator values.
- Range breakout: the close is above the highest high of the prior 20 bars.
- Moving average signal: a 10-period moving average crosses above a 30-period moving average.
- Momentum threshold: RSI crosses above 55 for a long setup or below 45 for a short setup.
- Volume-confirmed breakout: price closes above a defined range high while volume exceeds the 20-bar average volume.
- VWAP recovery: price closes back above VWAP after trading below it.
Also decide whether the event is valid intrabar or only at bar close. An intrabar breakout alert can enter as soon as price trades through a level, but it can also respond to temporary moves that reverse before the candle closes. A bar-close condition waits for confirmation, reducing false signals at the cost of entering later. The choice must match the strategy’s intended behavior and should remain consistent during testing and live automation.
Map Each Event to a Specific Trading Action
Before creating TradingView alerts, build a decision table that assigns one market event to one intended action. This prevents ambiguous alerts that leave the execution logic open to interpretation.
- Bullish entry event: send a buy action.
- Bearish entry event: send a sell action.
- Invalidation event: send an exit action.
- Directional flip event: send a reverse action.
For example, define a 30-minute opening range using the first six 5-minute bars after the session opens. A close above the range high can produce a buy action. If price subsequently closes back inside that range, the strategy can send an exit action because the breakout condition has failed. The exit is not another entry signal, it has one purpose: remove the existing directional exposure.
Keep each alert narrowly defined. An alert that simultaneously implies “buy if flat, exit if short, and reverse if long” is harder to test and troubleshoot than separate alerts with explicit purposes. The alert message should communicate the intended action unambiguously, including the applicable ticker and quantity where required.
Separate Entry, Exit, and Reverse Logic
Use separate TradingView alert conditions for entries, exits, and reversals. This structure makes it easier to determine whether an unexpected trade resulted from the chart condition, the alert configuration, or the execution instruction. It also lets you test each event independently in Paper trading before relying on it for live automation.
A reverse event deserves particular care. Reversing is not merely closing a position, it changes directional exposure. For instance, a close below a range low after a long breakout may be defined as either:
- An exit: close the long position and remain flat.
- A reversal: close the long position and establish a short position.
Those are materially different risk decisions and should never be treated as interchangeable. Document the expected behavior for every edge case, especially an exit alert received when no relevant position is open. Decide in advance whether that event should be ignored, logged for review, or treated as a signal that the strategy state and broker position require reconciliation. Clear rules for these cases prevent stale alerts and duplicate conditions from producing unintended exposure.
Build Event-Driven Alerts in TradingView
Create an Alert From an Indicator or Chart Condition
Start by adding the indicator or drawing the chart setup that defines the event you want to automate. For example, a breakout strategy may use a horizontal resistance level, while a trend-following setup may use a moving-average crossover. Confirm that the chart symbol, exchange, and timeframe match the market and signal logic you intend to trade.
In TradingView, open the alert dialog and select the relevant Condition. This can be an indicator condition, such as a moving average crossing another moving average, or a chart condition, such as price crossing a plotted level. Set the expiration date, then enter the webhook URL supplied by your automation workflow. The alert message should contain the order instructions required by that workflow, such as the ticker, action, quantity, takeProfit, stopLoss, or expiration.
Choose alert frequency based on when the strategy is allowed to act:
- Once per bar: Sends one alert during the active candle when the condition first becomes true. This is appropriate when an intrabar break is sufficient to enter.
- Once per bar close: Sends only after the candle closes with the condition confirmed. This is generally preferable for strategies that rely on completed candle data, including confirmed breakouts, candle-close crossovers, and close-above-resistance rules.
- More frequent triggering: Can send alerts repeatedly as price changes while the candle remains open. Use this only when the trading plan explicitly requires intrabar monitoring and the downstream order handling is designed for repeated messages.
Use Alert Frequency to Control Duplicate or Premature Signals
An active candle can cross above and below a level several times before it closes. A fast alert frequency may therefore produce repeated messages, even though the final candle does not confirm the setup. For a moving-average crossover, price can temporarily force a crossover during the bar and reverse before close. For a breakout, price can trade above resistance briefly and then settle back inside the range.
Select a frequency that reflects the actual entry rule. If the rule is “buy when the 15-minute candle closes above resistance,” use Once per bar close. If the rule is “enter immediately when price trades through the breakout level,” use an intrabar setting, but test it carefully. Observe alerts in real-time market conditions before enabling live automation, particularly during volatile openings, news releases, and low-liquidity periods.
Create Separate Alerts for Long and Short Scenarios
Create separate alerts for bullish and bearish events rather than relying on one broad alert to infer direction. For example, configure one bullish breakout alert when price closes above range resistance, and a separate bearish breakdown alert when price closes below range support.
Separate alerts allow each scenario to carry distinct instructions. The bullish alert can specify a buy action, its own quantity, and protective stop and profit-target prices. The bearish alert can specify a sell action, a different quantity if appropriate, and separate protective price instructions. This separation also makes alert history easier to review when diagnosing an unexpected entry.
- Verify the chart symbol before saving each alert.
- Confirm that the selected condition corresponds to the correct breakout or breakdown level.
- Check the timeframe, alert frequency, webhook URL, and message for both long and short alerts.
Structure a TradingView Webhook for TradersPost
Use the Essential Webhook Fields
A TradingView webhook should send a clear JSON message with the information needed to identify the trade and define the intended instruction. The three core fields are ticker, action, and quantity:
- ticker identifies the instrument to trade.
- action defines the instruction, such as buy or sell.
- quantity specifies the intended trade size.
A practical starting message is:
{"ticker":"{{ticker}}","action":"buy","quantity":"1"}
The {{ticker}} placeholder allows TradingView to pass the symbol from the chart on which the alert fires. This is useful when the same alert logic is applied across multiple charts, because the alert can use the active chart symbol rather than requiring a hard-coded ticker in every message.
Keep each field explicit and use valid JSON syntax. Field names and text values should be enclosed in double quotes, with commas separating each field. Before relying on an alert, verify that the chart symbol, action, and quantity match the exact trade you intend to automate.
Add Take-Profit and Stop-Loss Instructions When Appropriate
When the strategy requires protective exits, include the optional takeProfit and stopLoss fields in the webhook message. These fields define price levels for profit-taking and loss protection, so they should be derived from the same written rules that govern the entry.2
For example, a strategy may define its stop-loss as the alert price minus a fixed dollar amount, or as a percentage below the alert price. A long-entry rule could conceptually use a stop-loss 2% below the alert price and a take-profit at a predefined reward-to-risk multiple. The specific values should reflect the instrument’s price behavior, position size, and the strategy’s maximum accepted loss.
Use protective prices that are valid for the intended direction. For a long position, a stop-loss would normally be below entry and a take-profit above entry. For a short position, those relationships reverse. Review the complete alert message before activating it, including JSON formatting, price values, and whether the calculated exit levels match the strategy’s intended trade.
Use Expiration Only When the Strategy Requires It
The optional expiration field is relevant only when an alert-driven trade requires an expiration value as part of instrument selection or the order instruction. Do not add expiration to every webhook by default. Include it only when it applies to the specific trading workflow and the instrument being selected.
Validate the expiration format carefully and confirm that it produces the intended trade behavior. A valid-looking expiration value can still lead to an unintended result if it does not correspond to the instrument your strategy expects. Test expiration-dependent alerts in Paper trading before using them for live automation, especially when the strategy combines expiration selection with take-profit or stop-loss instructions.
Use Dynamic Prices and Formulas in Alert Messages
Pass the Current Chart Price with TradingView Placeholders
TradingView placeholders let an alert message include the chart value available when the alert fires. For example, {{close}} is replaced with the current close value from the chart bar that triggered the alert. This is useful when an automated order needs a price reference that changes with the market rather than a hard-coded number.
For example, assume a long-entry alert triggers when the chart close is 100.00. You can use that value as the starting point for protective-price logic:
- Entry reference: 100.00
- 1% stop-loss reference: 100.00 × 0.99 = 99.00
- 2% take-profit reference: 100.00 × 1.02 = 102.00
TradingView placeholders insert values, they do not perform arithmetic inside the alert message. Calculate the stop-loss or take-profit value in the indicator or strategy logic, then send the resulting numeric value in the webhook message using fields such as stopLoss and takeProfit.
The value substituted for {{close}} depends on the alert timing and the chart data available at the trigger. An alert configured to trigger only after a bar closes uses the completed bar's close. An alert permitted to trigger during an open bar can send a value that reflects the market at that earlier trigger point. Test the selected alert timing against the intended execution model before relying on a dynamic price reference.
Build Rule-Based Protective Prices
Protective prices should follow explicit risk and reward assumptions. A percentage formula can provide a consistent relative distance from entry, but it is not a universal setting.
- Long stop-loss example: entry price × 0.99, representing a 1% stop-loss.
- Long take-profit example: entry price × 1.02, representing a 2% take-profit.
- Short-position logic: use formulas that place the stop above entry and the profit target below entry.
Choose the formula from the strategy's expected volatility, holding period, win rate, and reward-to-risk assumptions. A 1% stop may be wide for one instrument and unrealistically tight for another. Test calculations across low-priced and high-priced instruments, because the same percentage creates different dollar risk when quantity changes. For example, a 1% move on 10 shares of a 20-dollar stock is 2 dollars of gross price risk, while a 1% move on 10 shares of a 500-dollar stock is 50 dollars.
Keep Quantity Rules Simple and Testable
Start automation testing with a fixed quantity. A fixed quantity makes each webhook message easier to audit because changes in results are more likely to come from the entry signal, alert timing, or protective-price calculation rather than a changing position size.
Evaluate quantity logic separately from entry logic. Increasing quantity changes exposure, dollar risk, and the effect of slippage, even when the signal and percentage stop-loss remain unchanged. Before moving to variable sizing, review each alert message and confirm that the quantity sent matches the intended position size for that specific trade.3
Approximate Scheduled Events Without an Economic Calendar Trigger
Use Time and Session Conditions as an Event Window
When an economic-calendar trigger is not available, define the expected event period with session and time-based chart logic, then require a technical condition before sending an alert. The clock identifies when conditions may become relevant. It should not, by itself, determine whether an order is placed.
For example, a trader expecting volatility shortly after the regular market open can build a 15-minute opening-range rule. The script records the high and low from the first 15-minute bar, waits until the planned event window has passed, and triggers only when a subsequent candle closes outside that range.
- Long setup: After the event window, a 5-minute or 15-minute candle closes above the opening-range high.
- Short setup: After the event window, a candle closes below the opening-range low.
- Optional filter: Require price to remain above or below a moving average, VWAP, or prior-session level to align the breakout with the broader intraday structure.
This approach can also be used around a known announcement time, such as a central-bank decision or scheduled company release. The TradingView alert remains chart-driven: it fires because price broke a defined range, confirmed momentum, or reclaimed a technical level after the scheduled time window.
Require Price Confirmation After the Scheduled Time
Avoid automating entries solely because a specified time has arrived. Scheduled events can produce abrupt two-way movement, widened spreads, gaps, and fills materially different from the displayed chart price. A time condition is most useful as a gate that permits a setup, not as the setup itself.
Use a confirmation rule that requires the market to demonstrate direction after the announcement. Practical confirmation methods include:
- A completed candle close above resistance or below support.
- A breakout from a pre-event range followed by a close beyond that range.
- A reclaim of a key level after an initial selloff, such as price closing back above the opening-range high or VWAP.
- A breakout accompanied by elevated volume relative to recent bars.
For instance, if a planned event occurs at 10:00 a.m., a strategy can ignore movement during the first reaction and evaluate the next completed 5-minute candle. It may send a long webhook only if that candle closes above the pre-event high and volume exceeds a defined threshold. The webhook can then carry consistent execution instructions, such as ticker, action, quantity, stopLoss, and takeProfit.
Confirmation can reduce entries based on the first sharp move, but it cannot eliminate event risk, slippage, gaps, or false breakouts. Position sizing and stop placement should account for the wider-than-normal price movement that can follow scheduled releases.
Consider TrendSpider as Another Webhook Alert Source
The same event-driven design applies when TrendSpider identifies a defined technical condition and sends a webhook. Use the scheduled time as a contextual filter in the strategy design, then require a measurable technical signal before the alert is allowed to trigger.
Keep the signal and execution contract consistent across alert sources. If TradingView sends a long breakout only after a candle close above a range, configure the comparable TrendSpider alert around the same breakout definition, direction, quantity convention, and protective instructions. Consistency makes it easier to test signals, compare results, and avoid sending conflicting automation commands from different platforms.
Whether the webhook originates from TradingView or TrendSpider, the automated decision should remain based on the technical condition you explicitly define: a range break, momentum confirmation, level reclaim, or other observable chart event.
Paper Trade and Validate Before Going Live
Test Every Action Path Before Funding a Live Workflow
Use Paper trading to test the complete alert-to-order workflow before connecting live capital.4 Do not limit validation to a single successful entry. Build a checklist that covers each action your TradingView strategy can send:
- Buy: Confirm that a long-entry alert opens the intended position in the intended ticker.
- Sell: Confirm that a sell alert produces the planned short entry or position-reducing action under your workflow rules.
- Exit: Confirm that an exit alert closes the expected open position without creating an unintended new position.
- Reverse: Confirm that a reversal signal handles the existing position and establishes the new directional exposure as intended.
Inspect the alert message itself, not just the chart label. Verify that ticker, action, quantity, takeProfit, stopLoss, and expiration contain the expected values when those fields apply. For example, if a breakout alert is intended to buy 10 shares of a stock with a stop loss at 98.50 and take profit at 104.00, confirm that the paper trade reflects those exact instructions rather than rounded, stale, or formula-derived values that differ from the plan.
Also test operational edge cases. Trigger or simulate alerts that fire close together, repeat on consecutive bars, or occur during a rapid price move. Determine whether repeated conditions create repeated entries, whether an exit can arrive immediately after an entry, and whether your alert frequency matches the intended decision point.
Audit Alert Logs and Trade Outcomes
For each paper trade, compare three records: the TradingView alert trigger time, the exact alert message, and the resulting paper trade. A valid result is not simply “an order appeared.” The chart condition, selected alert frequency, message values, and execution outcome should all match the trading plan.
- Record the bar timestamp and the price context when the chart condition triggered.
- Save the alert message sent for that event.
- Record the expected position change, quantity, protective prices, and expiration behavior.
- Compare the expected result with the actual paper trade outcome.
A simple audit log is sufficient: setup rule, alert message, expected result, actual result, and notes. This process quickly exposes common issues, such as a condition triggering more often than intended, an alert configured to fire intrabar when the strategy was designed for bar-close confirmation, or a protective-price formula producing an invalid level after a sharp move.
Move to Live Automation Gradually
After repeated paper-trading validation, begin live automation with limited size. The objective is to validate real execution behavior while keeping the financial consequence of an error small. Successful paper trades confirm alert logic and workflow handling, but they do not eliminate market risk.
Live markets can gap through stop levels, move rapidly between alert creation and execution, and produce fills that differ from the price visible when the alert triggered.5 Review the workflow whenever you change alert logic, quantity, symbols, or formulas used to calculate takeProfit or stopLoss. Treat each material change as a new configuration that deserves another paper-trading test cycle before position size is increased.
Frequently Asked Questions
Can TradingView alerts trigger automated trades?
Yes. TradingView alerts can send a webhook when a chart, indicator, drawing, or strategy condition is triggered.6 TradersPost can receive that webhook and automate the specified action through a connected broker, such as buying, selling, exiting a position, or reversing direction. Before trading with real money, test the complete alert-to-broker workflow in paper trading to confirm that signals, quantities, and order actions behave as expected.
Can TradingView trigger trades from economic calendar events?
TradingView alerts are based on configured chart, indicator, drawing, strategy, and other alert conditions, not a built-in economic calendar trigger. However, traders can create scheduled-event workflows with time or session windows combined with price action or indicator confirmation. For example, an alert could only activate around a news release if price breaks a defined level. A chart-based confirmation rule is usually more actionable than a clock-only trigger.
What fields should a TradersPost webhook message include?
A basic TradersPost webhook message commonly includes the ticker, action, and quantity. Depending on the strategy and order workflow, you may also include documented fields such as takeProfit, stopLoss, and expiration. Use only the fields necessary for your intended trade setup to keep messages clear and easier to troubleshoot. Always verify the exact JSON formatting and test webhook messages through paper trading before enabling live automation.
Can I use dynamic stop-loss and take-profit prices with TradingView alerts?
Yes. TradingView placeholders can pass current chart values, such as the closing price, when an alert fires. This makes it possible to structure dynamic stop-loss and take-profit prices around rule-based formulas that match your strategy, such as percentage-based levels or levels derived from an indicator. Validate how the formulas behave across different symbols, asset prices, and market conditions before using them for live orders, since rounding and price scale can affect results.
Should I use one TradingView alert for entries and exits?
Separate alerts for buy, sell, exit, and reverse scenarios are generally easier to test, monitor, and troubleshoot. Each alert can send its own action, quantity, and protective-order instructions, making it clear which condition caused an automated trade. This separation also improves auditing when reviewing strategy performance or investigating unexpected orders. While a combined workflow may be possible, distinct alerts usually provide more control and reduce confusion during live trading.
Conclusion
Event-driven TradingView alerts turn a charting signal into a disciplined automation workflow, but reliability depends on more than the alert itself. Clear entry and exit logic, correctly formatted webhook payloads, position-sizing rules, and safeguards for duplicate or delayed signals all matter when real orders are involved. The most effective approach is to validate the full chain, from strategy condition to broker execution, in a controlled environment before allocating capital.
Create a TradersPost account, connect a paper-trading workflow, and test a TradingView or TrendSpider webhook alert before going live. Review every alert, fill, and exception so you can refine your rules with evidence rather than assumptions. Once the process performs consistently in simulation, you will be better positioned to automate with confidence. Start testing your event-driven workflow today.
References
1 TradersPost Docs, Webhooks
2 TradersPost Docs, Order Classes
3 TradersPost Docs, Position Sizing
4 TradersPost Docs, Paper Trading
5 TradersPost Docs, Order Behavior
6 TradersPost Docs, TradingView Signal Source